
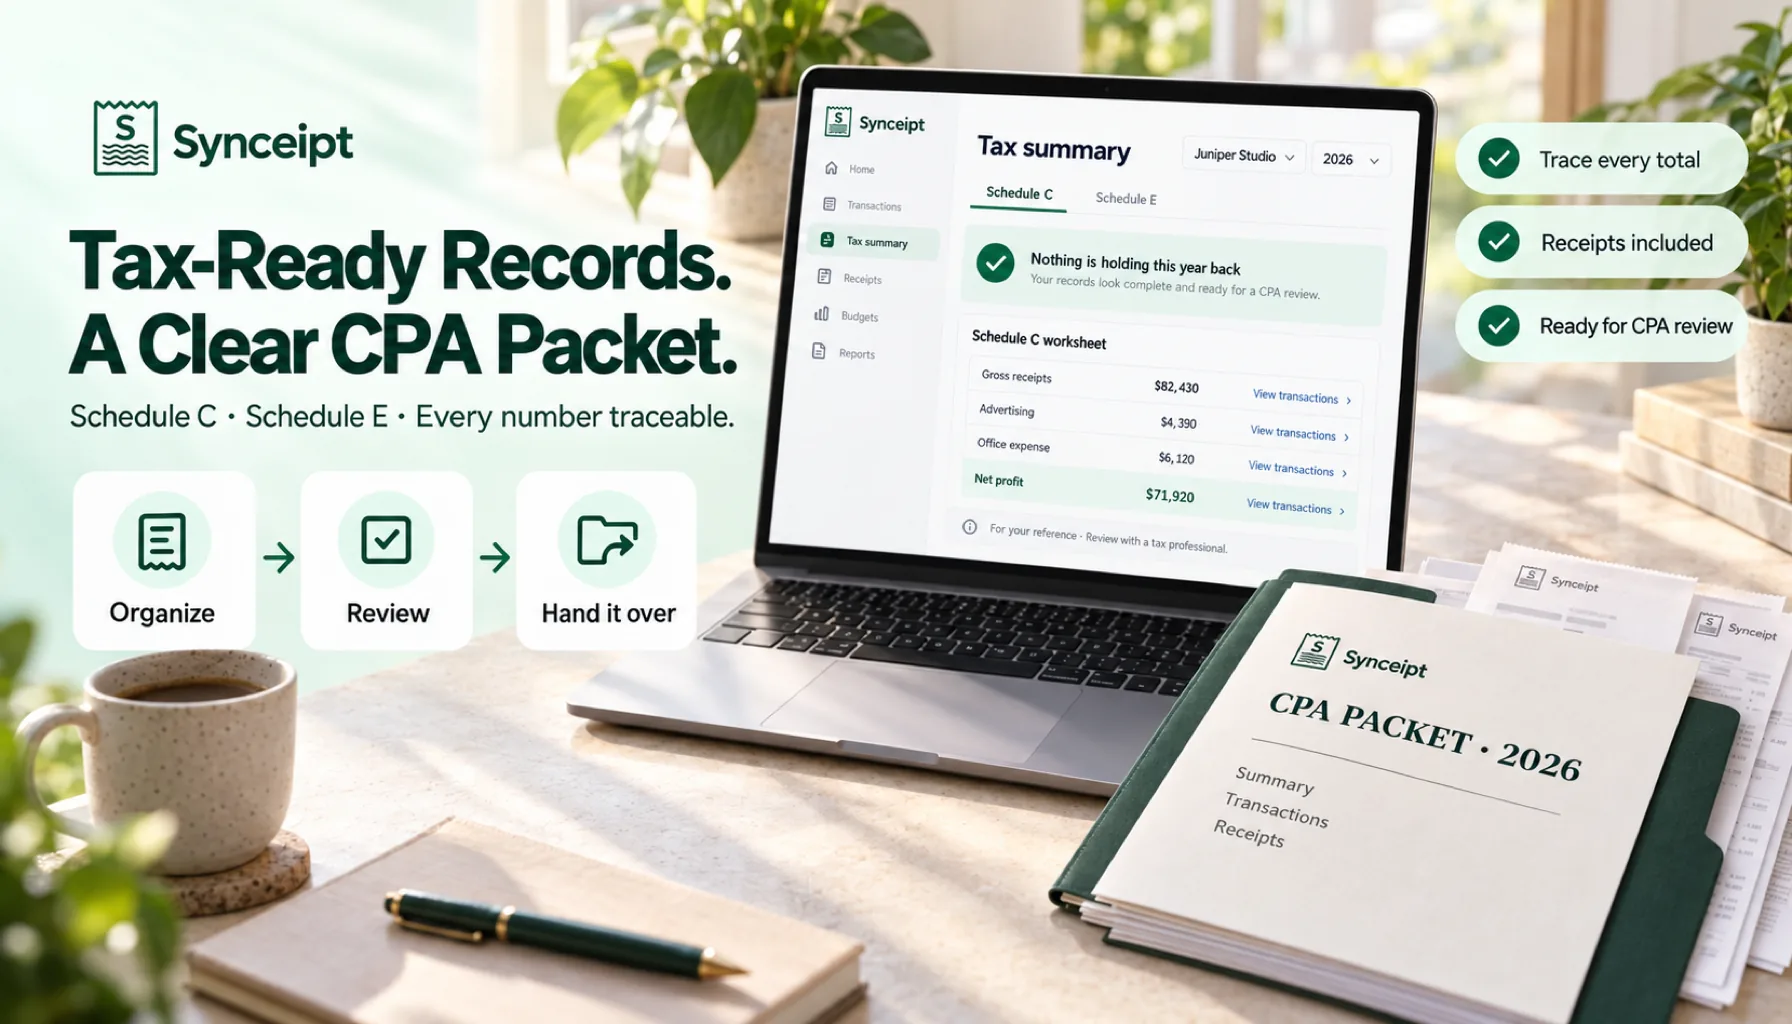
Most of the work of a small-business tax return is not the return. It is the weeks before it: finding every business expense, deciding which line each belongs on, chasing receipts, and explaining to your accountant why the numbers say what they say.
Synceipt already has most of that information — your bank transactions, your matched receipts, your invoices and payouts. The tax-ready summary organizes it the way an IRS form is laid out, shows you exactly which transactions make up each number, and packages it for the person who prepares your return.
Synceipt is not tax software. Tax-ready summaries are prepared automatically from your own records, for your reference. They are not a tax return or tax advice, Synceipt does not file anything, and a line number shows where a figure might belong — not a decision that it does. You are responsible for what you file: review it with a CPA, enrolled agent or tax attorney first.
What you get on each plan
| Plan | Businesses | Included |
|---|---|---|
| Free | — | Not included |
| Regular | 1 | Schedule C worksheet, the transactions behind every line, category-to-line mapping, CSV export, and the Itemized deductions (Schedule A) helper |
| Pro | Up to 5 | Everything in Regular, plus Schedule E for rentals, mileage, home office, assets and Section 179, cost of goods sold, 1099-K reconciliation, the 1099-NEC payee list, estimated tax tracking, Close Books, and the CPA packet |
| Pro Plus | Unlimited | Everything in Pro |
Tax-ready summaries cover U.S. federal forms only. A business that files somewhere else can still use everything else in Synceipt — bookkeeping, receipts, budgets and invoicing.
Step 1: Add your business
Go to Settings → Businesses and choose Add business. A business keeps its own records: its own invoice letterhead and numbering, and its own transactions for tax summaries.
- Business name, and a legal name if it is different.
- Entity type and Tax form — Schedule C (sole proprietor / single-member LLC) or Schedule E (rental property, royalties). If you have not decided yet, choose Not decided yet and come back.
- Does this business file a US federal return? — the summary is only prepared for businesses that do.
- A tax ID such as an EIN, if you want it on invoices. It is stored encrypted and never shown again after you save it.
- The address printed on invoices, the accounting method, the month the fiscal year ends, and the currency.
Have a rental as well as a side business? Add each one separately. Schedule E needs Pro or Pro Plus.
Step 2: Tell Synceipt which transactions are business
A transaction belongs to one business, or to none if it is personal. There are two ways to say which:
- One at a time — open a transaction and set its Business field. This is the right tool for a card you use for both personal and business spending.
- A whole account — on a bank account used only for the business, set Business for new transactions in the account's settings. New transactions from that account start out assigned to the business. Choose Apply to existing transactions too if you want the transactions already there assigned as well.
Only set an account default on an account that is purely for the business. On a mixed account it would file your groceries as business expenses. Applying a default to past transactions is a separate, deliberate step for the same reason, and it never changes a period you have closed.
Step 3: Open the tax summary
Choose Taxes in the left sidebar. It opens on the tax summary — pick the Business and the Tax year at the top. The first time, Synceipt shows a short notice about what the summary is and is not, and asks you to acknowledge it. The same notice stays on every worksheet, export and packet afterwards.
The worksheet follows the order of Schedule C. Each line shows what it covers, the amount, and the deductible amount — the two differ for lines with a limit, such as business meals. Totals run from line 1, gross receipts, through line 31, net profit.
See what makes up any number
Every line opens two ways: Which categories make this up, and The transactions behind this number. If a figure looks wrong, this is where you find out why in a few seconds — a duplicate, a personal purchase on the business card, or a category on the wrong line.
Step 4: Clear the readiness list
Above the worksheet, Synceipt lists what is standing between your records and numbers you can rely on:
- Before these numbers are trustworthy — problems that make the totals wrong until they are fixed, such as a rental with rent but no depreciation, or a 1099-K that is far from your deposits.
- Worth a look — things that are often fine but worth a second glance.
When the list is empty you will see Nothing is holding this year back. Still worth a read before it goes on a return.
Sort the three groups at the bottom
| Group | What it means | What to do |
|---|---|---|
| No line yet | The category has no Schedule C line, and Synceipt will not guess one | Choose Put it on and pick the line |
| Looks personal | Assigned to the business, but the category looks personal; left out of the totals | Recategorize it, or move it out of the business |
| Not Schedule C | Transfers, loan payments, tax payments and sales tax, which are not business expenses | Usually nothing — recategorize only if it is in the wrong category |
Change which line a category goes on
Synceipt maps each category to a Schedule C line by default. If your accountant wants a category somewhere else, choose Change next to it and pick the line. Your choice is marked your mapping and applies to this business; choose Use our default to go back.
Step 5: Add what your bank data cannot show (Pro)
Some deductions never appear in a bank feed. They go in a block of their own, marked Entered, not from bank data, so you and your accountant can always tell an entered figure from one built from transactions. Synceipt cannot check these, so keep the records behind them.
- Vehicles — choose Add a vehicle, then Standard mileage or Actual expenses. For standard mileage, enter business miles and commuting miles; commuting is not deductible and is kept apart.
- Home office — choose Add a home office and enter the square feet and months used. Synceipt uses the simplified method only.
- Assets — choose Add an asset for equipment and other things you depreciate: what it is, when it was first used for the business, the cost, and How it's claimed — Section 179 (expense it all this year) or Depreciate (you enter the amount). Synceipt does not work out MACRS depreciation, so ask your accountant for the figure.
- Cost of goods sold — only if you sell goods. Choose Add cost of goods and fill in Schedule C Part III: inventory at the start of the year, purchases, cost of labor, materials and supplies, other costs, and inventory at the end of the year.
Step 6: 1099s and estimated tax (Pro)
1099-K: check the form against your deposits
If a marketplace or payment app sent you a 1099-K, choose Enter a 1099-K and type in its figures. Synceipt compares them with the deposits it has from that platform. The form reports gross sales and your deposits are net, so they never match exactly — the point is to catch a gap too big to be fees, before the IRS does.
Sell on Etsy? Import your monthly statements on the Payouts page. The tax-ready summary there shows the gross receipts and fees behind your deposits — see the marketplace payouts guide. The Schedule C worksheet itself still counts those deposits at their net amount.
Who you might owe a 1099-NEC
This is a working list, not a list of forms that are due. It shows the people and businesses you paid, with the amount that could count toward a 1099-NEC kept apart from card and digital-wallet payments. Card payments are left out of that column because the card network reports them on a 1099-K; wallet payments are shown separately because they can go either way. A payee is marked may need a form only when enough was paid by a method you would report yourself — and most will still not need one, since corporations are generally exempt and a bank feed cannot tell which payees are. Your accountant makes the final call.
Estimated tax payments
Choose Add a payment to record each estimated payment: the date, the amount and whether it went to the IRS or your state. These are not business expenses, but they are money already paid — exactly what your accountant will ask for.
Rental property: Schedule E (Pro)
Give a rental business the tax form Schedule E (rental property, royalties). Schedule E is filled in per property, so choose Add property for each one, with its address, its type, and the days it was rented and used personally. Assign rent and expenses to the property, and add the building and anything else you depreciate as assets on the same page, under the property they belong to.
A property with rent but no depreciation shows up on the readiness list, because a rental almost always has depreciation to claim.
Your personal side: Itemized deductions
In Taxes, switch from Tax summary to Itemized deductions at the top of the page for a Schedule A helper built from your personal spending — the transactions that belong to no business. Choose Enter the lines we can't see for amounts that are not in your transactions, along with your filing status and adjusted gross income, so limits such as the medical-expense floor and the state and local tax cap can be applied. Enter only what you want the summary to include.
This page is yours alone: it is not shown to advisors you invite.
Step 7: Close the year (Pro)
Before you close it, reconcile each bank and card account against its year-end statement (Pro and Pro Plus), so you know no transaction behind these totals is missing or counted twice — see how to reconcile your accounts before tax time.
When your accountant has the numbers, choose Close Books on the Transactions page and close the period. Every transaction dated in it becomes read-only, so a later edit or a bank re-sync cannot change figures that have already gone on a return. Transactions must be marked Reviewed or Excluded before a period can close, and you can reopen it if you need to.
Closing a period, or downloading a packet, does not mean the figures have been checked or are correct. It only stops them changing.
Step 8: Hand it over
The Hand it over section has the files your accountant needs — the same figures you see on screen, with the transactions behind each one:
- CSV — the worksheet figures, to bring into a spreadsheet or tax software yourself (every plan with the tax summary).
- Spreadsheet — the worksheet with every transaction behind every line (Pro and Pro Plus).
- One-page summary — a PDF overview of the year (Pro and Pro Plus).
- Receipts — a ZIP of the receipts behind the year, so your accountant is not asking for them one at a time (Pro and Pro Plus).
A direct TurboTax import (TXF) is not offered yet. Each line in that format needs a reference number, and a wrong one would put an amount on the wrong line inside your tax software with nothing to flag it. The CSV carries the same figures for you to map across.
Let your CPA look for themselves
Instead of sending files back and forth, go to Settings → Advisors and choose Invite an Advisor. Your accountant gets their own sign-in and can open your tax summary, drill into any line and download the files — with the features your plan includes, whatever plan they are on themselves. A bookkeeper can be given access that also allows certain edits.
One thing to know: if you limit an advisor to some of your accounts, the tax summary is not available to them. A summary built from part of your books would be wrong, so Synceipt asks you to give full access for tax work instead.
On your phone
In the mobile app, choose More → Tax summary. Pick the business and year, read the Schedule C lines and totals, tap any figure to see the transactions behind it, and download the packet to share. The mobile summary is read-only — fixing what the readiness list points out happens on the transactions themselves, in either app.
Does Synceipt file my taxes?
No. Synceipt does not prepare, sign or file returns, and it does not give tax advice. It organizes your records into summaries laid out like the IRS forms, so you and your tax professional start from sorted, traceable numbers.
Can I use this if I do not have a business?
Yes. Itemized deductions, the Schedule A helper, works from your personal transactions and is included on the Regular plan. The Schedule C and Schedule E summaries need a business set up in Settings → Businesses.
Why is a transaction missing from the worksheet?
Check three things: that it is assigned to the business, that its date is in the tax year you picked, and that it is not in the No line yet, Looks personal or Not Schedule C groups at the bottom of the page.
Does Synceipt calculate depreciation?
No. You can claim an asset with Section 179 or enter the depreciation amount yourself, but Synceipt does not work out MACRS depreciation. Ask your accountant for the figure.
Which home office method does Synceipt use?
The simplified method only: the square feet used for business and the months used, at the IRS simplified rate. If the regular method would suit you better, your accountant can work it out.
Is my tax information sent to AI?
No. Tax-ready summaries are computed by Synceipt's own software, and the tax details you enter on these screens are not sent to its AI providers.
What happens if I downgrade my plan?
Your data stays. Features your new plan does not include become unavailable, and figures you entered while on the higher plan stay in your totals — you can still view and delete them, but not add new ones.
Does the summary cover state taxes?
No. It covers certain U.S. federal forms only. It does not cover state, local or foreign taxes, self-employment tax, credits or carryovers.
Start tax season with your records already sorted
Connect your accounts, mark what is business, and hand your accountant a summary where every number traces back to a transaction.